The stator of the progressive cavity pump is one of the important components of the progressive cavity pump, and it is also one of the vulnerable parts that the progressive cavity pump is often replaced, so its processing technology is very strict!
The general manufacturing steps can be divided into the following steps:
1. Rubber mixing
For different media and working conditions, the choice of stator material will be different. Since the rubber compounding formula of each manufacturer is different, we will not give too much explanation here.
The general stator rubber materials are: natural rubber, nitrile rubber, silicone rubber, fluorine rubber, solvent rubber, EPDM rubber, silica gel, and wear-resistant rubber.
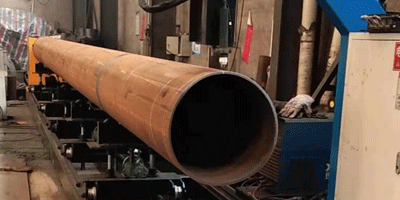
2. Cutting the stator blank
The stator blank is actually a seamless steel pipe, which is cut according to the drawings;
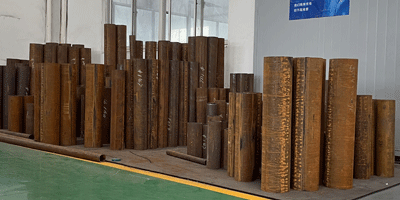
3.Processing custom blanks
Process the stator housing of the corresponding size according to the drawings
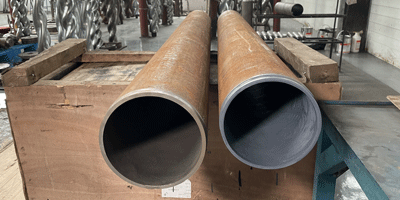
4. Deal with the stator housing
Here, especially the inner wall of the stator waik, requires special treatment.
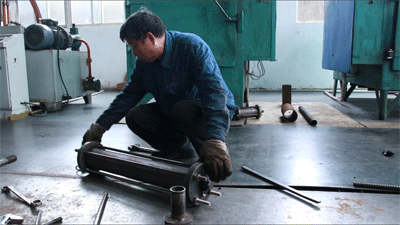
5. Assemble the stator mold
Assemble the stator housing and the stator mold together.

6. Injection
Put the assembled stator mold on the glue injection machine for glue injection.
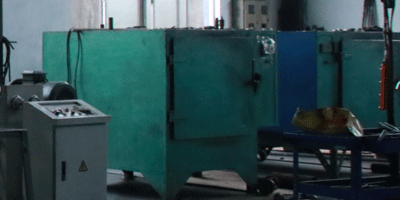
7. Vulcanized stator
Put the stator filled with rubber into a vulcanization box for a certain period of time vulcanization.
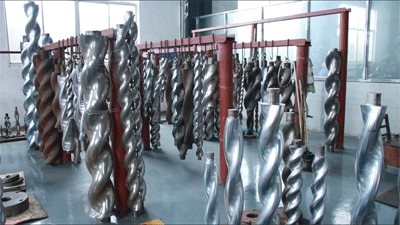
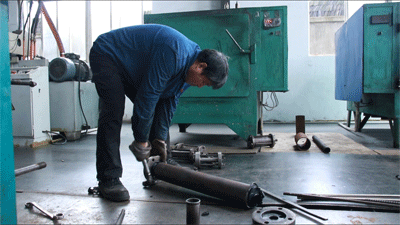
8. Disassemble the stator mold
Take the vulcanized stator out of the vulcanizing box and disassemble it.
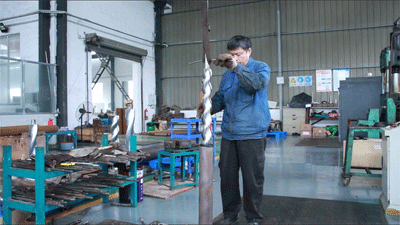
9. Finishing of stator
The disassembled stator should be processed on its external dimensions and outer wall.
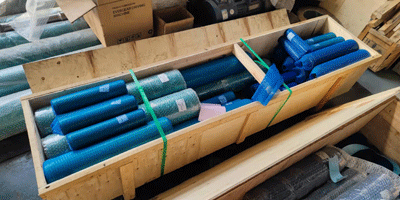
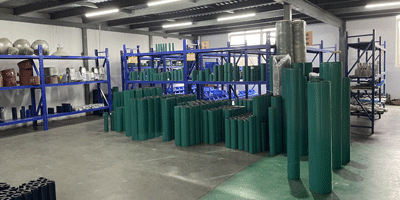
10. Paint and packaging
Paint the outer wall of the stator and wait for it to dry in the shade before packing and storing.